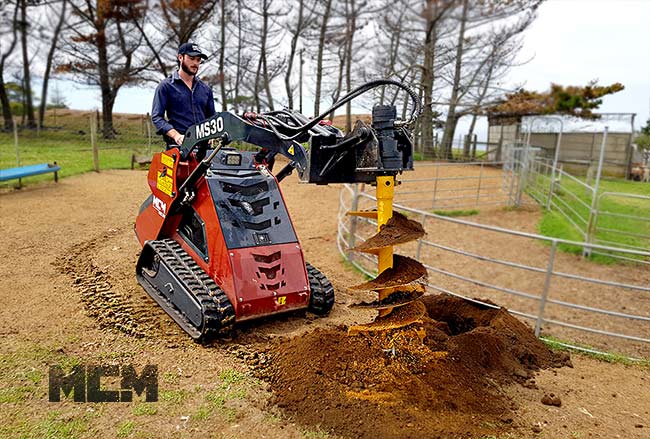
MCM has found that besides standard buckets, Hydraulic Augers are one of the most popular attachments purchased on track loaders, compact excavators, backhoes and compact loaders. Their strength, productivity and ease of use have made them an effective solution for both small and large scale digging projects. But given their simplicity and dependability, these attachments are not as commonly found in the different industries as you might think. Perhaps it’s the price?
Hydraulic Augers do require a set of skills when it comes to operation, the operator can play a large role in just how effective the auger really can be. Fortunately, Hydraulic Auger attachment operators only need to remember a few simple tips.
Compatibility
It is vital to ensure that your purchased Hydraulic Auger attachment is fully compatible with the machine in terms of the hydraulic pressure, and the hydraulic flow rate as well as being properly secured to the machine.
Pre-Start Checks
It is critical for the operator to inspect his Hydraulic Auger attachment before use each day.
- Check the condition of the wear parts, such as the screw bit and teeth, to ensure the attachment will perform at its best. The screw bit or pilot point is the very tip of the auger.
- It’s critical that the screw bit is in good condition because this is what keeps the auger track straight down into the ground during use.
- The condition of the teeth are important because they play a large role in the effectivity of your hydr. auger.
- All bolts are fixed and appropriately torqued.
- All hydr. hoses are properly connected, protected and not leaking.
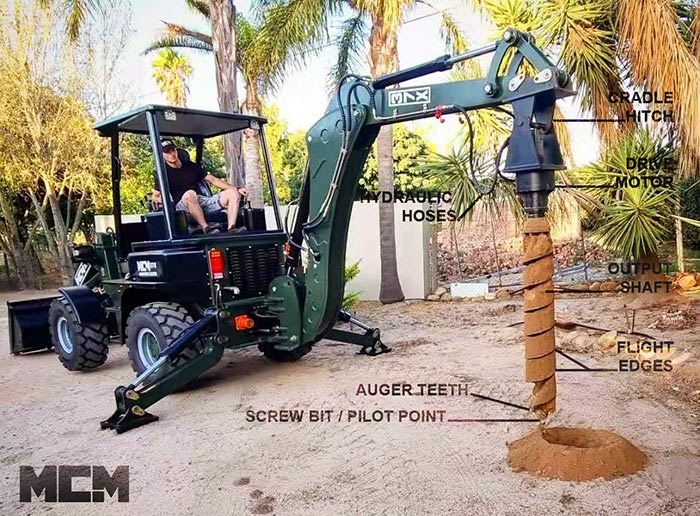
CLICK TO ENGLARGE
The teeth, located at the bottom of the auger flight, are primarily responsible for digging, whereas the flight edges are designed to push the loose soil up and out of the hole. When the teeth are in good condition, the auger aggressively and efficiently digs into most soil conditions and materials. But if the teeth are worn out and/or missing, the stress is then placed on the auger flight edges to do the digging, which severely limits the performance and creates premature wear on the flight edges themselves.
Long term, the flight edges will begin to wear and start to taper. Once flight edges have worn away up to a point, the auger will fail to dig straight holes and will get stuck in the ground. One reason this problem exists is that many earth auger owners don’t know what to look for to determine when the screw bit or teeth are worn out and in need of replacement.
 Obstructions Exist
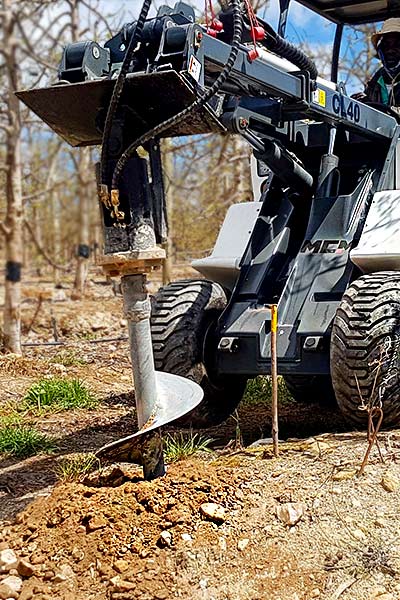
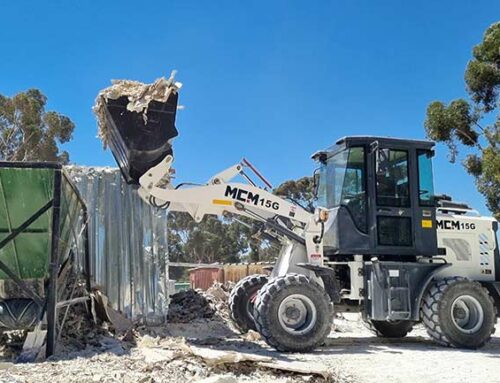
It is common for obstructions to be found on any digging sight, such as shale, rock, roots, and other obstructions, that each make it difficult or impossible to continue digging.
Always know the limitations of your equipment. If you are unsure, we welcome you to contact our team here at MCM.
Stubbornly attempting to force an earth auger through tough soil classifications is not the way to get the job done.
ALWAYS ensure the terrain worked on is safe. Digging with a Hydraulic Auger on a slope exposes the operator and equipment to greater risk. This should always be taken into account and carefully considered.
Smooth Operation
The effectivity achieved with a Hydraulic Auger attachment is greatly dependent upon the operator. The lifetime of the attachment is also equally greatly influenced by how it is used. It is thus vital, for the operator to have sufficient experience with operating such an attachment. Then again, it is a very simple and easy attachment to use and to get good at using.
Our most important operator tip is the following;
Be attentive!
Listen to, and feel the vibrations coming off the attachment. A good operator recognizes when an obstacle is approached by the auger flight, and does not stubbornly or ignorantly attempt to drill through anything.
3 Steps of How To Get It Done
- After a hole position has been identified, it may be necessary to mark it out, especially if multiple holes are required.
- To minimize the amount of loose soil that remains in the hole, the operator should stop the auger’s rotation and only then remove it. On the other hand, the auger will retract with less effort if allowed to rotate at a slow speed, but more soil will be left behind with this method.
- Once the auger is removed, the equipment is used to shake or remove the material from the auger flight, and the next hole can then be dug out.
